
Welcome to WP FAQ. In this page you will learn the basic of WordPress feature like how to login, edit post and page, how to add picture, how to add content. etc.
1. How do I login?
Logging in to WordPress is as simple as visiting your WordPress dashboard URL.
Follow these steps below to login to WordPress’s dashboard:
- Go to your www.YOURDOMANINNAME.com/wp-admin
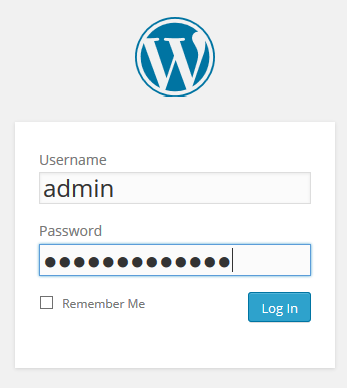
(YOURDOMAIN is your website url. example: your website url is www.wordpress.org) - Login to your wordpress with your username and password:
That’s it. Now let continue on how to edit page in wordpress.
2. How do i edit my content
Editing content mean to edit page. In wordpress, it has page and post (will explain).
Pages are static. They are a good way to publish information that doesn’t change much, like an About page. Pages appear in the Pages widget and in tabs/links across the top of some themes. Pages are not associated with a date/time like posts, nor can you tag or categorize a page. (source: http://en.support.wordpress.com/pages/)
To edit an existing page, click Pages → All Pages on the left menu. Under the page you’d like to edit, click on the Edit link.

It will look something like this:

To edit a page, simply click its title. You can also hover over the title and then click Edit.
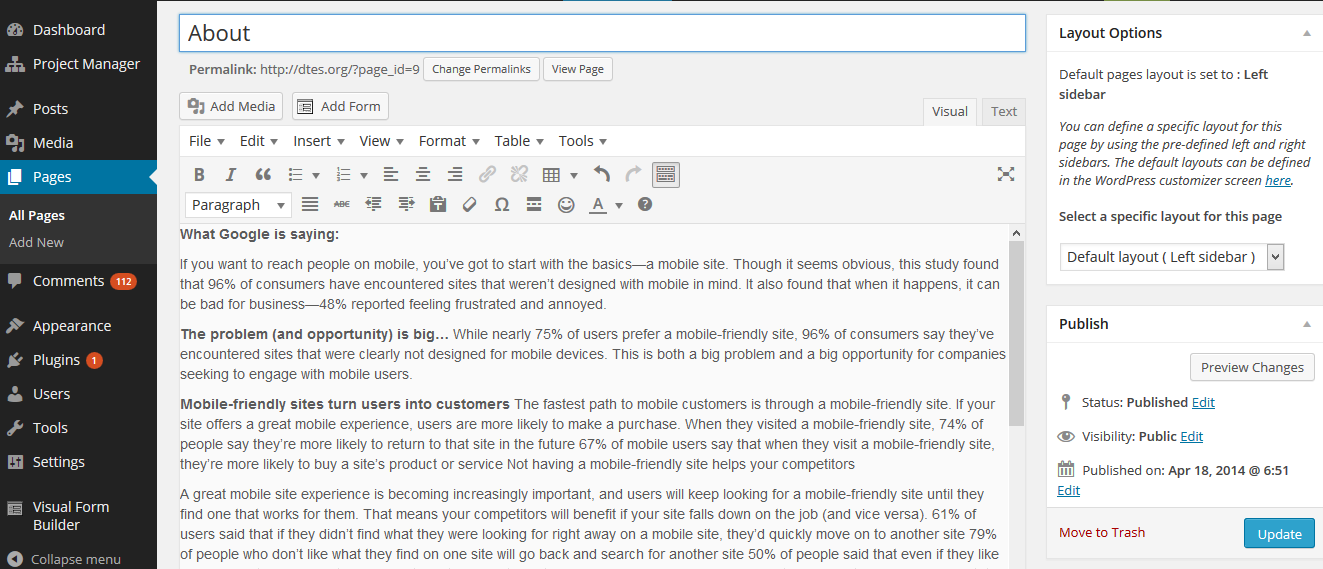
For example if edit About page you will see the screenshot like bellow:
3. How Do I Blog
Posts are what make your blog a blog — they’re servings of content that are listed in reverse chronological order on your blog’s front page (you can change the default order to list posts chronologically using these instructions).
Posts are always associated with a date, which is included in the URL. Sometimes, posts are confused with pages.(source: http://en.support.wordpress.com/post-vs-page/)
Publish a New Post
There are several ways to publish new posts. The easiest way is to go to Posts → Add New from your dashboard:

Edit Posts
To edit or delete a post (whether it’s a draft or has already been published), go to Posts → All Posts in your dashboard:

Here you’ll see a list of all of your posts. Clicking Edit under the name of a post will take you to the dashboard editor, where you can make changes. To delete a post, click Trash.

4. How does the wp control panel work?
The wp control panel or Dashboard is the first screen you see when you log into the administration area of your blog or website.
The main idea of the dashboard is to give you a place where you can get an at-a-glance overview of what’s happening with your blog or website. You can add, edit or delete page, post, category, view your draft posts, see who’s linking to you or how popular your content’s been, quickly put out a no-frills post, or check out and moderate your latest comments. It’s like a bird’s eye view of operations, from which you can swoop down into the particular details.
Here is how it look:

5. How do i add an image?
Here you will learn how to add images to your posts or page from your computer, another website, or your Media Library.
To that you have to edit your post or page and than follow these steps:
Insert an Image from your Computer
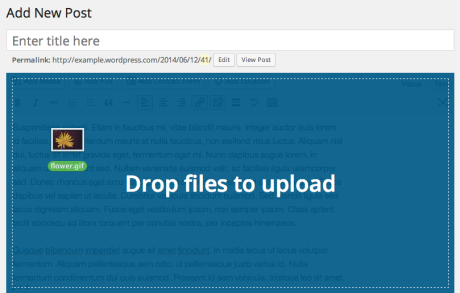
- Place your cursor where you want your image to appear.
- Drag your image from your computer to the editor.
Insert an Image from the Web
This method will not necessarily upload the document/file to your blog’s Media Library. Files from specific sites like Blogger will be uploaded to your Media Library and your image link will be updated. If the file is hosted elsewhere and does not get automatically uploaded to your Media Library.
- Place your cursor where you would like the image to appear, and click on the Add Media icon found directly above your editor.

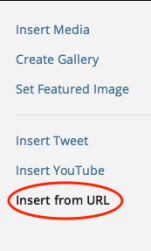
- Click on Insert from URL.
- You will be given the option to edit the image settings before inserting the image into the post/page. To learn more about these settings, visit our page on Image Settings.

- When finished choosing your image settings, click on the Insert into post button.
Insert an Image from your Media Library
- Place your cursor where you would like the image to appear, and click on the Add Media icon found directly above your editor.
- If not already selected, click on the Media Library tab.

- Locate the image you wish to insert and select it.
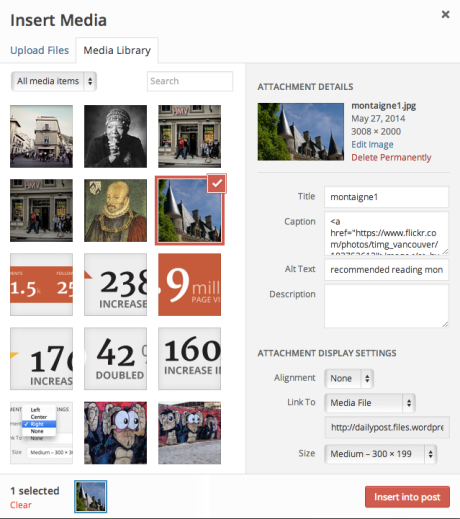
- You will be able to edit the image’s settings before inserting your image. These fields will already be populated if you previously added the information when you uploaded your image to the media library. To learn more about these settings, visit our page on Image Settings.
- When finished choosing your image settings, click Insert into post at the bottom.
6. How do I edit inserted Images?
Once your images are inserted, you can edit them to flow with your content in an appealing way. You can access these settings by selecting the image you wish to work with and clicking on the pencil icon.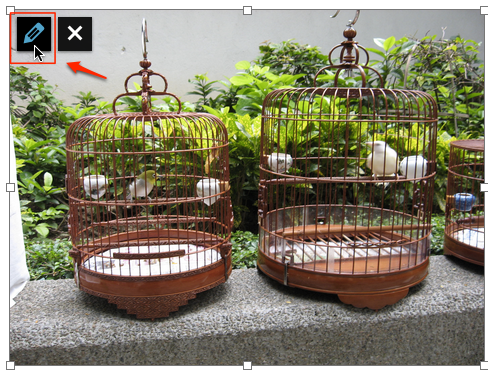
An Image Details pop-up appears with many of the same options discussed above:

You’ll also see two buttons below the image:
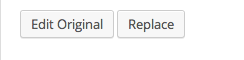
Edit Original takes you to a screen where you can rotate, scale, or crop the image (see Image Editing), and Replace opens the Media Library to let you choose a different image altogether.
Advanced Options
Finally, there are some Advanced Options available:
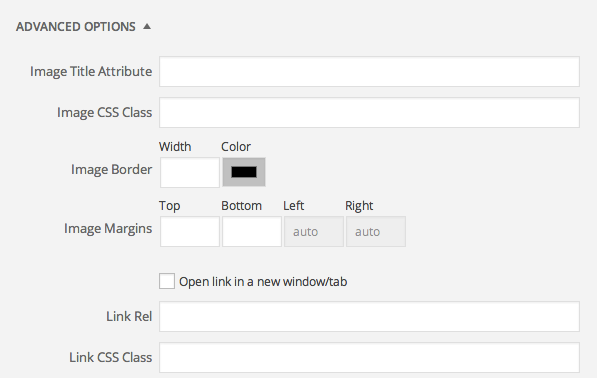
- Image Title Attribute controls what will be displayed as a tooltip when a reader hovers over your image.
- Image CSS Class lets you add CSS classes to an image (this is an advanced option; to get started with CSS, see CSS Basics).
- Image Border allows you to control the width in pixels and color of a border around your image.
- Image Margins lets you widen or narrow the amount of space between your image and surrounding content.
- Open link in a new window/tab will open the image (or the link where the image leads) in a separate browser window or tab.
- Link Rel controls the image link’s rel attribute, for adding nofollow amongst other things.
- Link CSS Class lets you add CSS classes to the image link (this is an advanced option; to get started with CSS, see CSS Basics).
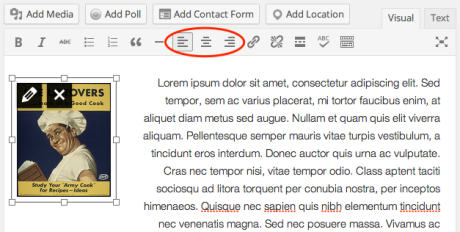
Image Alignment
When inserting images into your posts and pages, you can have your text wrap around them. This is a snap using the alignment icons in your Visual Editor. Just click on your inserted image to select it, then choose the alignment you want.
Side by Side
If you would like to see images appear side by side on the same line, put the images next to each other and give them both either left or right alignment.
Make sure the images are small enough that they will both fit on one line, including borders and margins. Otherwise, one of the images will be bumped to the next line. If this happens, you can resize the images so that they can fit side by side.
No text wrapping
If you don’t want the text to wrap around your image, you can remove the left or right alignment from your images. Click the image in the editor and then click the pencil icon in the upper left:

In the Image Details screen that pops up, under Display Settings select None:

Click the Update button and the text will stop wrapping around your image.